why make this recipe
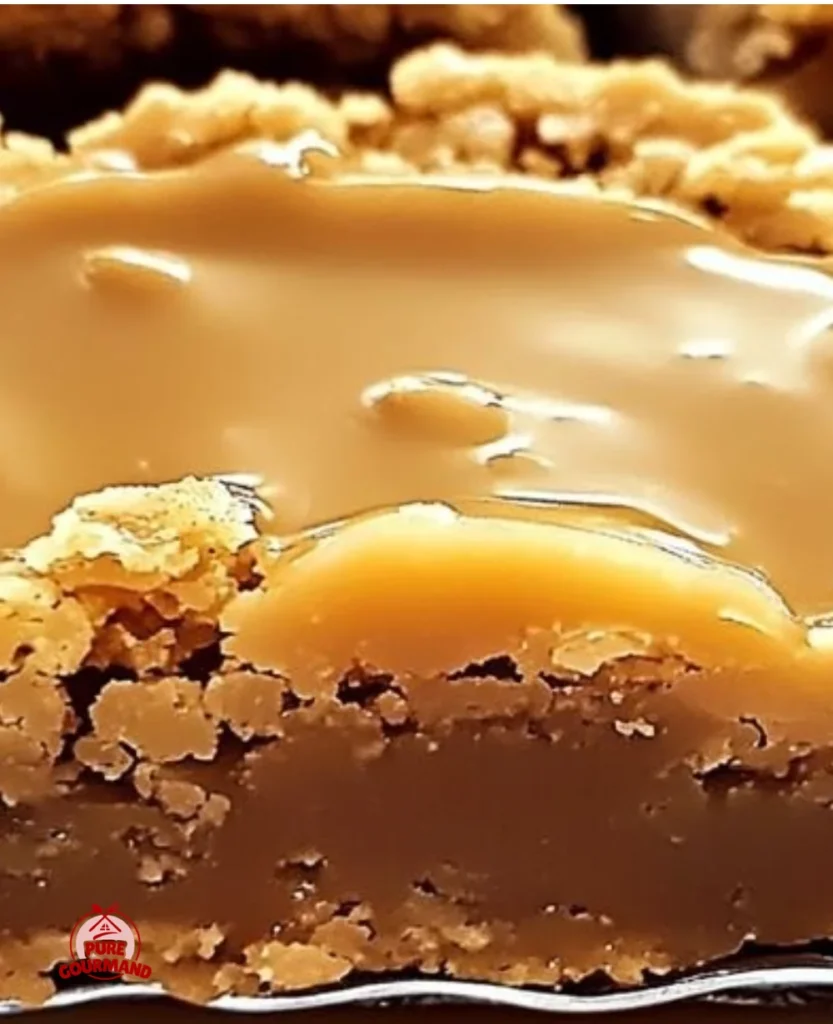
Nostalgic Peanut Butter Lunch Lady Cookie Bars bring back sweet memories for many of us. These bars combine the rich, creamy flavor of peanut butter with a soft, chewy cookie texture, making them perfect for lunchboxes or as an after-school treat. They are simple to make and will satisfy both kids and adults alike. Plus, who can resist a treat topped with creamy peanut butter frosting? Baking these bars is not just about satisfying a sweet tooth; it’s about creating moments of joy and sharing delicious memories with family and friends.
how to make Nostalgic Peanut Butter Lunch Lady Cookie Bars
Ingredients:
- 1 cup unsalted butter (melted)
- 1 cup creamy peanut butter (Use your favorite brand, but creamy is key here!)
- 1 cup granulated sugar
- 1 cup packed light brown sugar
- 2 large eggs
- 2 teaspoons vanilla extract
- 2 cups all-purpose flour
- 1 teaspoon baking powder
- 1/2 teaspoon salt
- 1/2 cup creamy peanut butter (Because more peanut butter is always a good idea!)
- 1/4 cup unsalted butter (softened)
- 2 cups powdered sugar
- 1/4 cup milk (You might need a little more or less, depending on your desired consistency.)
- 1 teaspoon vanilla extract (Because frosting deserves a little extra vanilla love.)
Directions:
Step 1: First things first, preheat your oven to 350°F (175°C). While that’s warming up, grab a 9×13-inch baking dish. You can grease it well or line it with parchment paper for super easy removal later. Trust me, parchment paper is a lifesaver!
Step 2: In a nice big bowl, pour in your melted butter and your creamy peanut butter. Give it a good stir until it’s all smooth and well combined. It should look like delicious, creamy peanut butter sunshine.
Step 3: Now, add in your granulated sugar, packed light brown sugar, both eggs, and that lovely vanilla extract. Get your mixer (or your arm power!) going and beat it all together until it’s nice and fluffy. This step really builds the texture.
Step 4: In a separate bowl, whisk together your flour, baking powder, and salt. This ensures everything is evenly distributed. Then, gradually add these dry ingredients to your wet mixture. Mix until it’s just combined. Don’t overmix here; we want tender bars, not tough ones!
Step 5: Pour or spoon your cookie dough into your prepared baking dish. Use a spatula or the back of a spoon to spread it out evenly. Make sure it reaches all the corners so you get deliciousness in every bite.
Step 6: Pop that dish into your preheated oven. Bake for about 22–25 minutes. You’ll know they’re ready when the edges are golden brown and a toothpick inserted into the center comes out clean.
Step 7: This is a tough but crucial step: let the bars cool completely in the pan. I know, I know, the smell is intoxicating, but frosting hot bars is a recipe for a melty mess!
Step 8: While your bars are cooling, let’s make the frosting. In another bowl, beat together the 1/2 cup of peanut butter and the softened butter until it’s wonderfully smooth.
Step 9: Add in your powdered sugar, milk, and the remaining vanilla extract. Mix it all up. If it seems a little too thick, add another tablespoon of milk at a time until you get a nice, spreadable consistency. I love a good, thick frosting, so I usually aim for something that holds its shape.
Step 10: Once your bars are completely cool, spread that glorious peanut butter frosting evenly over the top. Then, slice them into squares. Admire your handiwork, slice ’em up, and get ready to enjoy!
how to serve Nostalgic Peanut Butter Lunch Lady Cookie Bars
Serve these cookie bars as a delightful dessert or snack. They are perfect for school lunches, picnics, or as an after-dinner treat. Pair them with a glass of cold milk or a warm cup of hot chocolate for an extra special treat. You can also add some sprinkles on top of the frosting to make them even more fun for kids!
how to store Nostalgic Peanut Butter Lunch Lady Cookie Bars
To keep your bars fresh, store them in an airtight container at room temperature for up to one week. If you want to keep them longer, you can refrigerate them for up to two weeks. Just make sure they are well covered, so they don’t dry out!
tips to make Nostalgic Peanut Butter Lunch Lady Cookie Bars
- Make sure to let the bars cool completely before frosting them to avoid a gooey mess.
- Use high-quality peanut butter for the best flavor.
- Don’t overmix the dough; mix until just combined for a softer cookie bar.
- For added texture, sprinkle some chopped peanuts or chocolate chips in the cookie dough before baking.
variation
You can customize these cookie bars by adding chocolate chips or swapping half of the peanut butter for Nutella for a delightful chocolate-peanut butter twist. You could also try adding some oats or coconut to the cookie dough for an extra twist.
FAQs
Can I use natural peanut butter instead of creamy peanut butter?
Yes, but natural peanut butter can be more oily, which might change the texture slightly. Be sure to stir it well before using.
Can I freeze these cookie bars?
Absolutely! You can freeze them in an airtight container for up to three months. Just thaw them in the refrigerator before serving.
How can I make the frosting less sweet?
You can reduce the amount of powdered sugar and add a little more milk to achieve a balanced sweetness if you find the frosting too sweet.