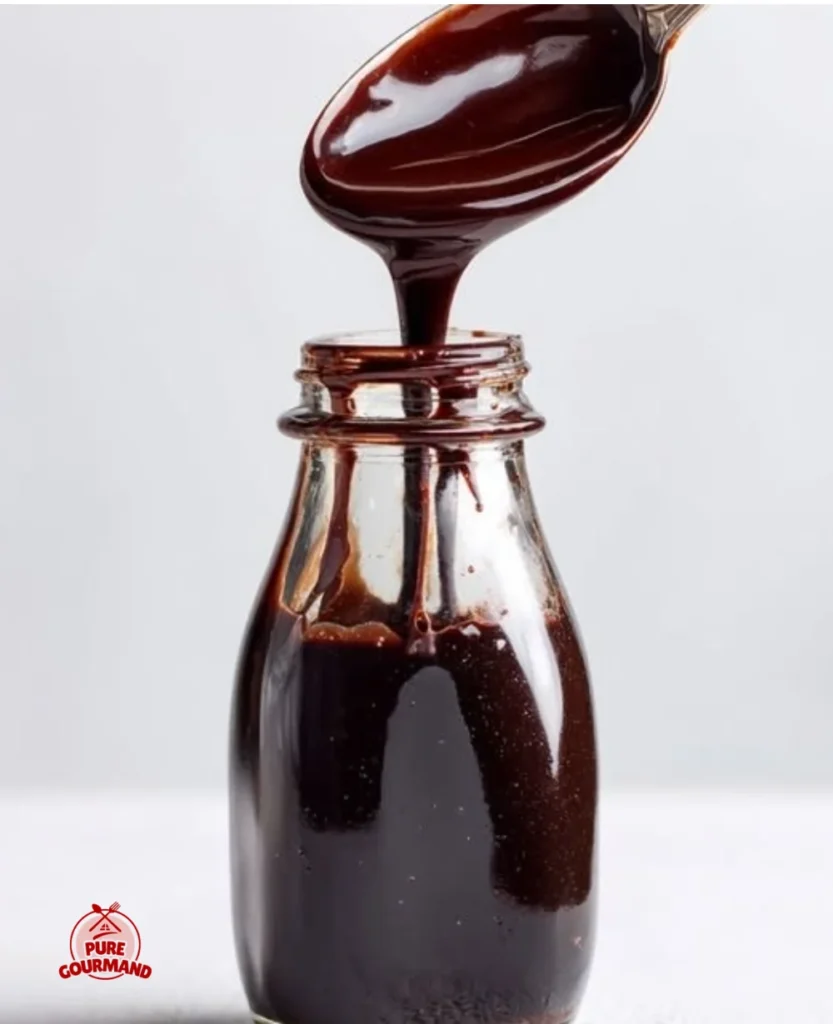
There’s something truly magical about the comfort of chocolate. Whether it’s a cozy winter evening wrapped in a blanket or a nostalgic memory of childhood ice cream sundae nights, chocolate syrup always seems to bring a sense of warmth and joy. I remember the first time I tasted homemade chocolate syrup—it was rich, velvety, and a hundred times better than anything that came from a bottle. Today, I’m excited to share a recipe that takes just five minutes to whip up, allowing you to create your own decadent chocolate syrup right in your kitchen. Trust me, once you try it, you’ll never look back!
Recipe Timing
- Prep Duration: 2 minutes
- Active Cooking: 3 minutes
- Total Duration: 5 minutes
- Portion Size: About 1 cup
- Complexity: Simple
Nutritional Recipe
- Calories per portion: Approximately 66
- Protein: 0.2 grams per serving
- Carbs: 17.3 grams per serving
- Fats: 0.2 grams per serving
- Fiber: 0.5 grams per serving
- Sugars: 16.6 grams per serving
- Sodium: 1 mg per serving
Why You’ll Love This Homemade Chocolate Syrup (5-Minute Recipe!)
Imagine drizzling this luscious chocolate syrup over pancakes, waffles, or ice cream! Its rich cocoa flavor elevates desserts and breakfasts alike. With just a handful of pantry staples and a few simple steps, this syrup can become your go-to for delicious indulgence. It’s versatile enough to be used in milkshakes, or even as a dip for fresh fruits! The best part? You can feel good knowing exactly what goes into it—no preservatives, no strange ingredients, just pure chocolate bliss.
The Complete Cooking Journey
Let’s embark on this delightful journey together, transforming simple ingredients into a sweet culinary masterpiece!
Ingredients:
- 1 cup granulated sugar
- 1/2 cup unsweetened cocoa powder (Use a good quality brand for best flavor.)
- 1 cup water
- 1 teaspoon vanilla extract
- 1/8 teaspoon salt (Just a pinch!)
Method:
Step 1: Whisk Dry Ingredients
In a small saucepan, whisk together the granulated sugar, cocoa powder, and salt until well combined. This step is crucial for a lump-free syrup.
Step 2: Incorporate Water Gradually
Slowly pour in the water while whisking continuously until the mixture is completely smooth.
Step 3: Bring to a Gentle Boil
Place the saucepan over medium heat and bring to a gentle boil, stirring often.
Step 4: Simmer and Thicken
Once boiling, reduce heat to low and simmer for 1-2 minutes, stirring, as it thickens slightly.
Step 5: Add the Finishing Touch
Remove from heat and stir in the vanilla extract.
Step 6: Cool and Store
Allow the syrup to cool completely. It will thicken significantly as it cools. Transfer to an airtight container and store in the refrigerator for up to 3 weeks.
Serving Suggestions & Pairings
This chocolate syrup is perfect for topping:
- Ice cream sundaes with fresh berries
- Waffles drizzled with whipped cream
- Pancakes stacked high with peanut butter
- Milkshakes made extra chocolaty
- Sliced bananas or strawberries for a sweet treat
Storage & Leftovers Guide
Transfer any leftover syrup to a clean, airtight container. It can stay fresh in the refrigerator for up to 3 weeks, though I doubt it’ll last that long once you taste it!
Kitchen Wisdom & Success Tips
- Quality Cocoa: Always use a good quality unsweetened cocoa powder; it makes a world of difference in flavor.
- Smooth Mixing: Whisking your dry ingredients thoroughly before adding water helps prevent lumps.
- Heat Control: Watch the syrup closely as it simmers; too high heat could cause it to boil over.
Flavor Variations & Adaptations
- Mint Chocolate Syrup: Add a few drops of peppermint extract for a refreshing twist.
- Spicy Chocolate Syrup: Mix in a pinch of cayenne pepper for a deliciously spicy kick.
- Nutty Chocolate Syrup: Stir in a tablespoon of nut butter for a creamy, nutty flavor.
Reader Questions & Solutions
-
How can I make my syrup thicker?
If you want a thicker syrup, allow it to simmer for an extra minute or two until it reaches your desired consistency. -
Can I use brown sugar instead of granulated sugar?
Yes! Brown sugar will give your syrup a richer flavor and a different sweetness profile. -
What if I don’t have cocoa powder?
You can substitute with chocolate syrup, but the flavor and sweetness will change. -
How do I know my syrup is done?
It should coat the back of a spoon and have a thicker consistency; it will also continue to thicken as it cools. -
Can I use non-dairy alternatives?
Absolutely! Substitute the water with almond milk or oat milk for a dairy-free option.
Wrapping Up
Creating your own homemade chocolate syrup is not only quick and easy—it is a delightful way to indulge your sweet tooth while elevating everyday treats. Whether you’re drizzling it over dessert or using it as a secret ingredient in your morning smoothies, this syrup is sure to sweeten your day! Enjoy the process, and don’t forget to share your delicious creations with loved ones. Happy cooking!