Why Make This Recipe
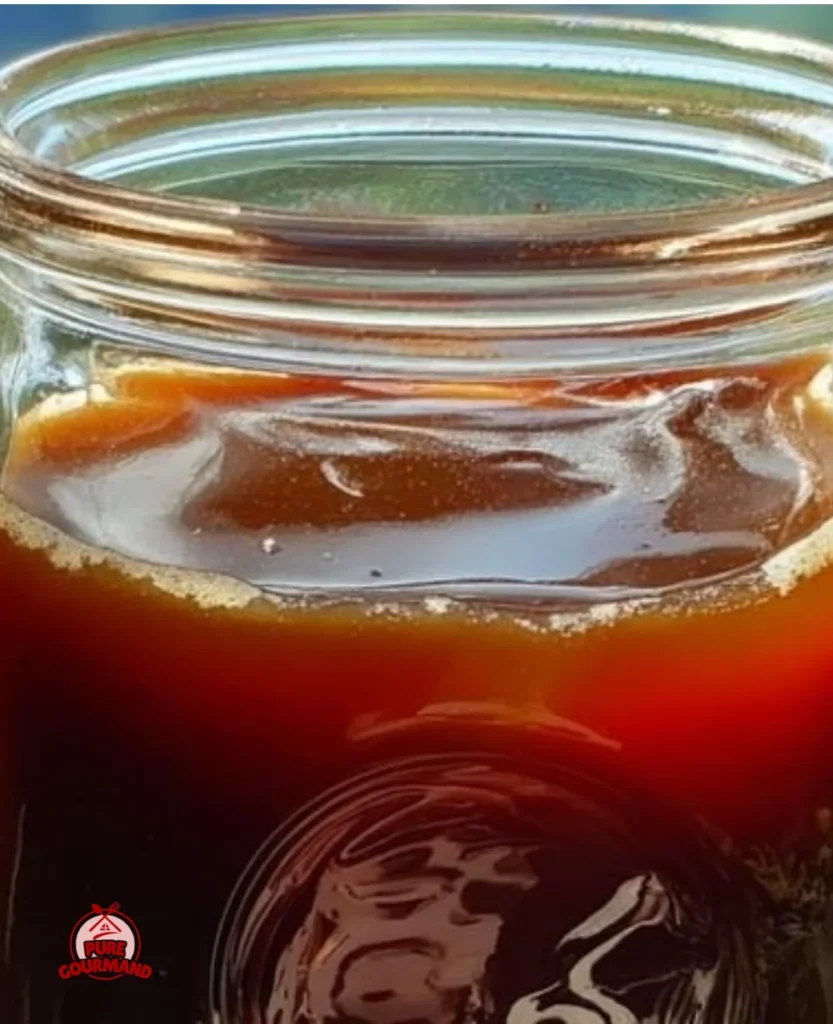
Homemade Coffee Jelly is a delightful treat that combines the rich flavor of coffee with a fun, jiggly texture. It’s perfect for coffee lovers who want to enjoy something different. Whether you’re topping your dessert with it or enjoying it on its own, this jelly adds a unique touch to your day. Plus, making it at home allows you to control the sweetness and quality, ensuring that each bite is just how you like it.
How to Make Homemade Coffee Jelly
Making homemade coffee jelly is a simple process that requires just a few ingredients and some patience. Let’s dive into it!
Ingredients:
- 4 cups very strong brewed coffee (dark roast preferred)
- 1/4 cup lemon juice (fresh or bottled)
- 5 1/2 cups granulated sugar
- 1 1/3 cups Dutch gel pectin (for low or no sugar needed recipes)
Directions:
Step 1: Prepare canning gear. Wash jars and keep them hot. Fill canning pot with water (about 2 inches over jar tops) and heat.
Step 2: In a 4-quart saucepan, combine coffee and lemon juice. Bring to a rolling boil over high heat.
Step 3: In a separate medium bowl, whisk together granulated sugar and Dutch gel pectin until completely combined.
Step 4: Once coffee and lemon juice are at a full boil, add the sugar and pectin mixture all at once. Whisk vigorously for exactly 2 minutes to ensure full dissolution.
Step 5: Keep whisking and bring the mixture back up to a full, rolling boil that you can’t stir down. Boil for exactly 1 minute. Set a timer.
Step 6: Carefully remove from heat. Ladle hot jelly into hot jars, leaving 1/4 inch headspace. Wipe rims clean, center new lids, and screw on bands fingertip tight.
Step 7: Using a jar lifter, place filled jars in the boiling water canner, ensuring they are covered by 1-2 inches of water. Cover the canner and bring water back to a vigorous boil. Process for exactly 10 minutes (adjust for altitude if needed).
Step 8: After 10 minutes, turn off heat and remove canner lid. Let jars sit in hot water for 5 minutes before lifting them out.
Step 9: Carefully transfer hot jars to a cooling rack or towel-lined counter. Let them cool undisturbed for at least 12-24 hours. Check seals (lid should be curved inward and not flex). Remove screw bands, wipe down jars, and label.
How to Serve Homemade Coffee Jelly
Homemade Coffee Jelly is versatile. You can serve it on its own, use it as a topping for desserts like ice cream, or pair it with whipped cream for a delightful treat. It’s also great on toast or with yogurt for breakfast.
How to Store Homemade Coffee Jelly
Store your homemade coffee jelly in a cool, dark place. Once opened, keep it in the refrigerator. It’s best enjoyed within a few weeks, but it can last for months if sealed properly and stored correctly.
Tips to Make Homemade Coffee Jelly
- Use strong brewed coffee for better flavor.
- Make sure to whisk the sugar and pectin well to avoid lumps.
- Check the jars for any cracks before using them for canning.
- Always test the seal of the jars after cooling to ensure they are sealed properly.
Variation
You can add other flavors like vanilla or spices (like cinnamon) to the coffee before boiling. This adds a different dimension to the coffee jelly and makes it even more exciting.
FAQs
1. Can I use decaf coffee for this recipe?
Yes, you can use decaf coffee if you prefer. Just make sure it is strong enough for the best flavor.
2. How can I tell if my jelly has set properly?
A good sign is that it will have a firm texture and should hold its shape when you spoon it out of the jar.
3. Is it necessary to process the jars in a water bath?
For long-term storage and safety, it’s recommended to process the jars in a water bath. This helps preserve the jelly and prevents spoilage.