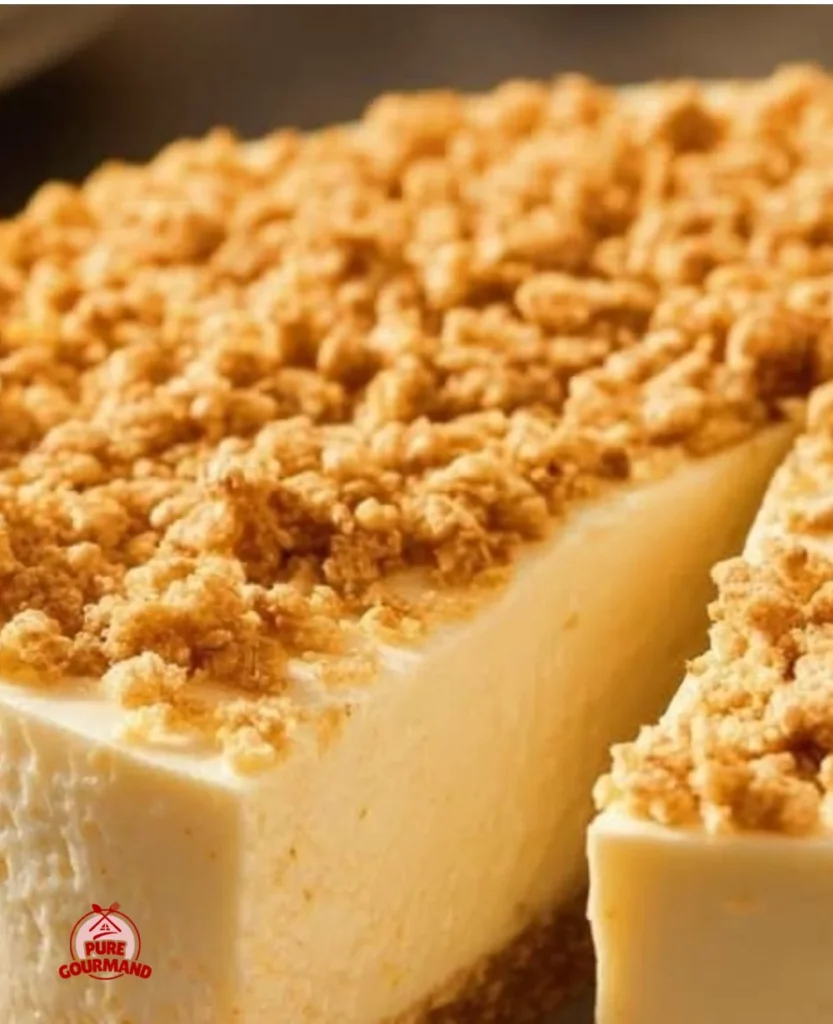
If you’re craving something delightful and a bit different, this Creamy Rice Krispie Cheesecake with a Crunchy Crust is a perfect choice. Combining the beloved flavors of cheesecake with the satisfying crunch of Rice Krispies, this dessert is sure to impress family and friends.
Why make this recipe
This cheesecake is not your standard dessert! The Rice Krispie crust adds a unique texture that contrasts beautifully with the creamy filling. It’s a great way to enjoy a classic flavor with a fun twist, making it perfect for special occasions or just a sweet treat at home.
Ingredients
- 3 cups Rice Krispies cereal
- 5 tbsp unsalted butter, melted
- ¼ cup granulated sugar
- 24 oz cream cheese, softened
- 1 cup granulated sugar
- 3 large eggs, room temperature
- 1 cup sour cream
- 1 tsp vanilla extract
- 2 tbsp all-purpose flour
How to make it
- In a bowl, mix together the Rice Krispies, melted butter, and ¼ cup sugar until well combined.
- Press the mixture firmly into the bottom of a springform pan to form the crust.
- In a separate bowl, beat the cream cheese until smooth.
- Add in 1 cup of sugar, the eggs, sour cream, vanilla extract, and flour. Mix until well blended.
- Pour the cheese mixture over the chilled Rice Krispie crust.
- Bake in a preheated oven at 325°F for 55 to 65 minutes, or until the center is set.
- Once baked, cool the cheesecake gradually inside the oven.
- After it has cooled, chill in the refrigerator for several hours.
- Release the cheesecake from the springform pan and serve it chilled.
How to serve it
Slice the cheesecake into wedges and serve it chilled. You might enjoy it plain, or you can add a dollop of whipped cream or fresh berries for an attractive touch.
How to store it
Store any leftovers in an airtight container in the refrigerator. The cheesecake can be kept for about 5 to 7 days. It’s best served chilled, so remember to take it out shortly before serving.
Helpful tips
- Make sure the cream cheese is softened for easy mixing.
- Press the Rice Krispie crust firmly to avoid crumbling when slicing.
- Allow the cheesecake to cool gradually in the oven to prevent cracks on the surface.
Optional variations
Consider adding a fruit topping like strawberries or blueberries for an extra layer of flavor. You could also mix in chocolate chips or nuts to the cheesecake filling for added texture.
Frequently asked questions
Can I use low-fat cream cheese in this recipe?
Yes, low-fat cream cheese can be used, but it may alter the texture slightly, making it less creamy.
What can I do if my cheesecake cracks while baking?
Cooling the cheesecake gradually in the oven helps minimize cracking. If cracks do form, you can cover them with toppings like whipped cream or fruit for a beautiful finish.
How long should I let the cheesecake chill before serving?
Chill the cheesecake for at least 4 hours, but overnight is even better for the flavors to set perfectly.
Enjoy baking and sharing this delicious Creamy Rice Krispie Cheesecake!